How to use QuickBooks?
Create account from here : https://accounts.intuit.com/signup.html
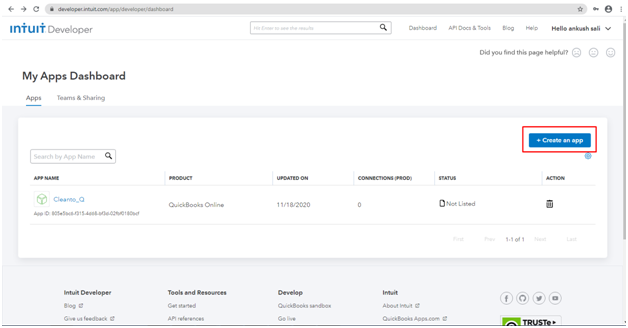
Step - 1: Go to the dashboard and click on "Create an app" button which highlighted red in below image.
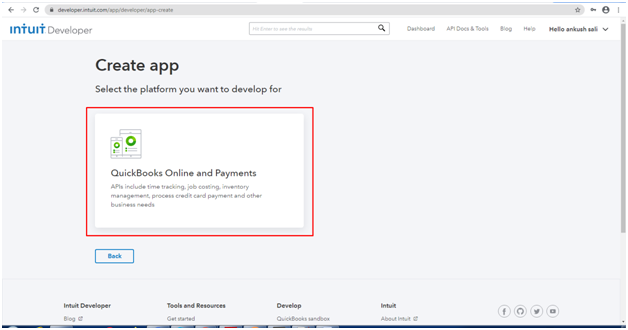
Step - 2: Select the platform you want.
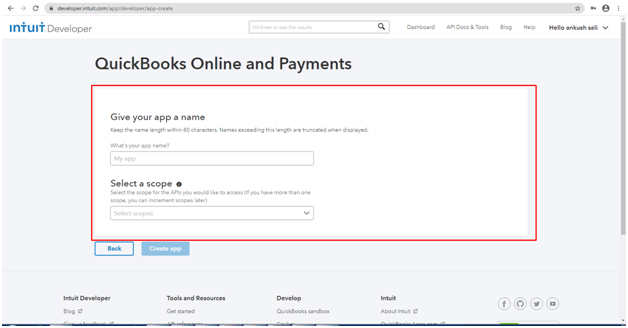
Step - 3: Fill the form with necessary information which highlighted red in below image and click on "Create app" for create a new app.
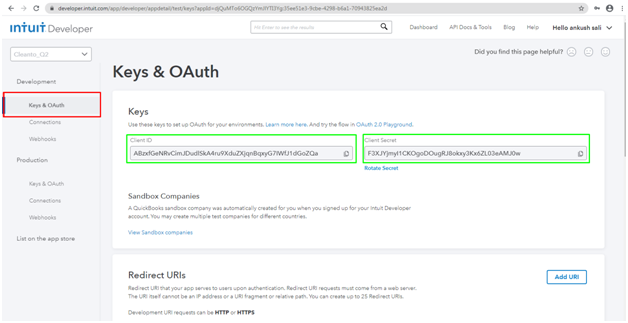
Step - 4: Select red highlighted menu "Keys & OAuth" in below image and save the "Client ID" and "Client Secret" which highlighted green in your doc file.
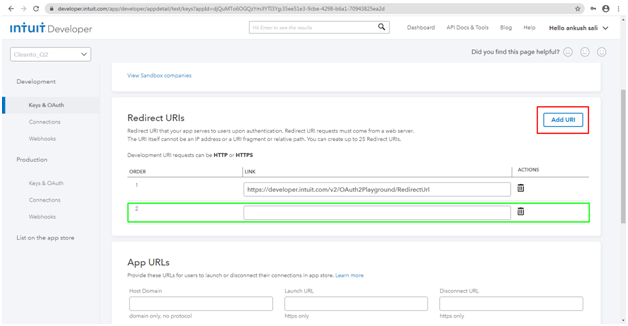
Step - 5: Scroll down on the same page and click on "Add URL" which highlighted in red, Then after you will see the new generated field which highlighted green in below image. Add the call back URL.
Callback URL: Your clento url+"/assets/quickbooks/callback.php"
Click on "Save" button which you will find at the end of the page.
Cleanto Admin Side:
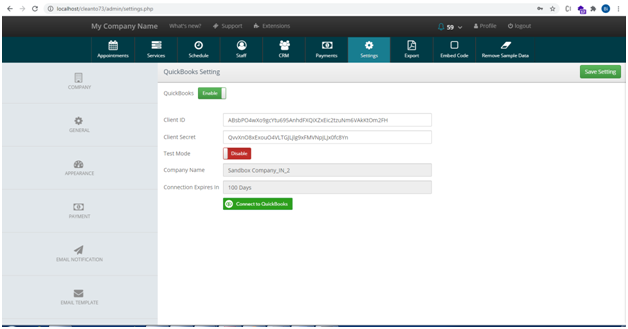
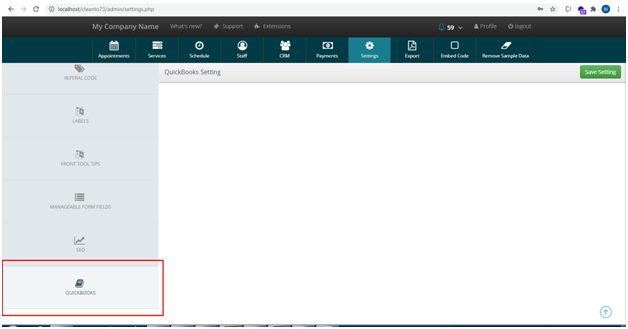
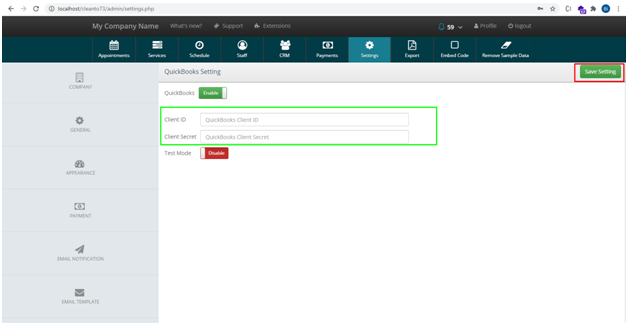
Step 1: Go to on Cleanto admin in Settings menu, scroll down and click on the last side menu name "QUICKBOOKS" which highlighted red in below image.
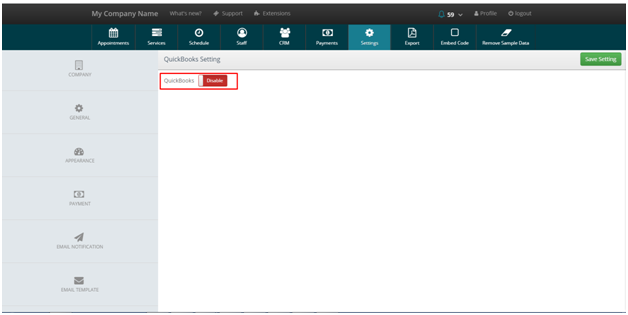
Step - 2: Click on the button which highlighted red in below image to Enable the QuickBooks functionality.
Step - 3: After Enable the QuickBooks, You will see the two blank fields name "Client ID" and "Client Secret" which highlighted green. Fill those fields with Client ID and Client Secret which you have got from QuickBooks when you have created the App. After fill the both fields, Save the Setting to click on the "Save Setting" button which highlighted red in below image.
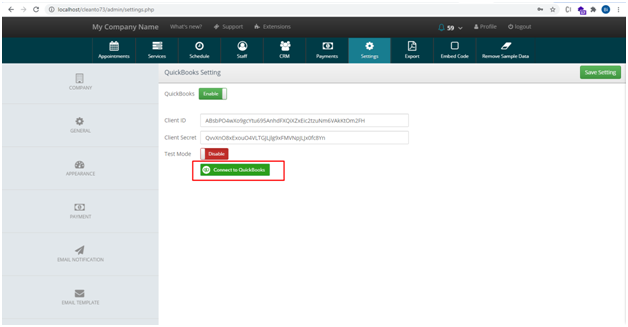
Step - 4: After save the setting you can see the button name "Connect to QuickBooks" which highlighted red in below image.
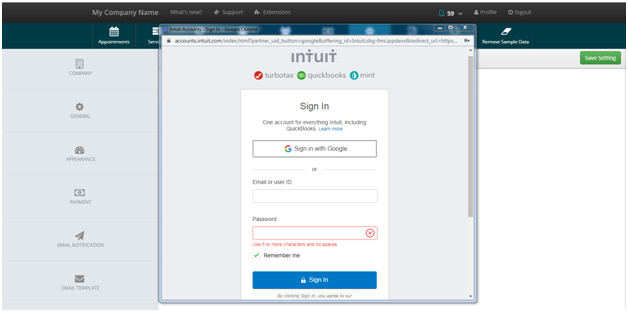
Step - 5: After click on connect button you will see that pop up new window which showing in below image for login into QuickBooks , Login with your QuickBooks credentials.
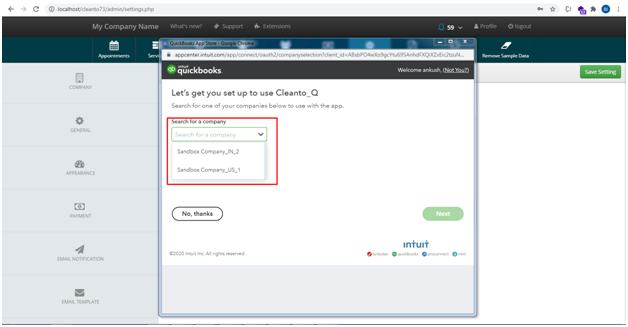
Step - 6: After login successfully, You will redirect on next page of the same pop up window for select your QuickBooks company, select the company from dropdown which showing in below image and click on next button.
If you have only one company in QuickBooks then this step will automatically skip.
After connection successful, You can see the two new fields in your QuickBooks setting, 1) Company Name and 2) Connection Expires In.
"Company Name" means your connected QuickBooks company, And "Connection Expires In" means the number of days remain to expire your connection.
Basically your connection expires in 100 days, For renew your QuickBooks connection you have to click on "Connect to QuickBooks" button to login and select the company again.